After many years of collecting tools I have finally decided to build the tool that all craftsmen need to own; a solid work bench.
Considering that I work in one side of a two garage, bench size means everything. I wanted solid, sturdy with storage space. There are lots of plans on the web but I settled on the-not-so-big-workbench by Ed Pirnik in Fine Woodworking Magazine.
 |
| Roughing out the lumber |
The on-line plans are nicely detailed and contain a Sketchup Model. I went for the video as well.
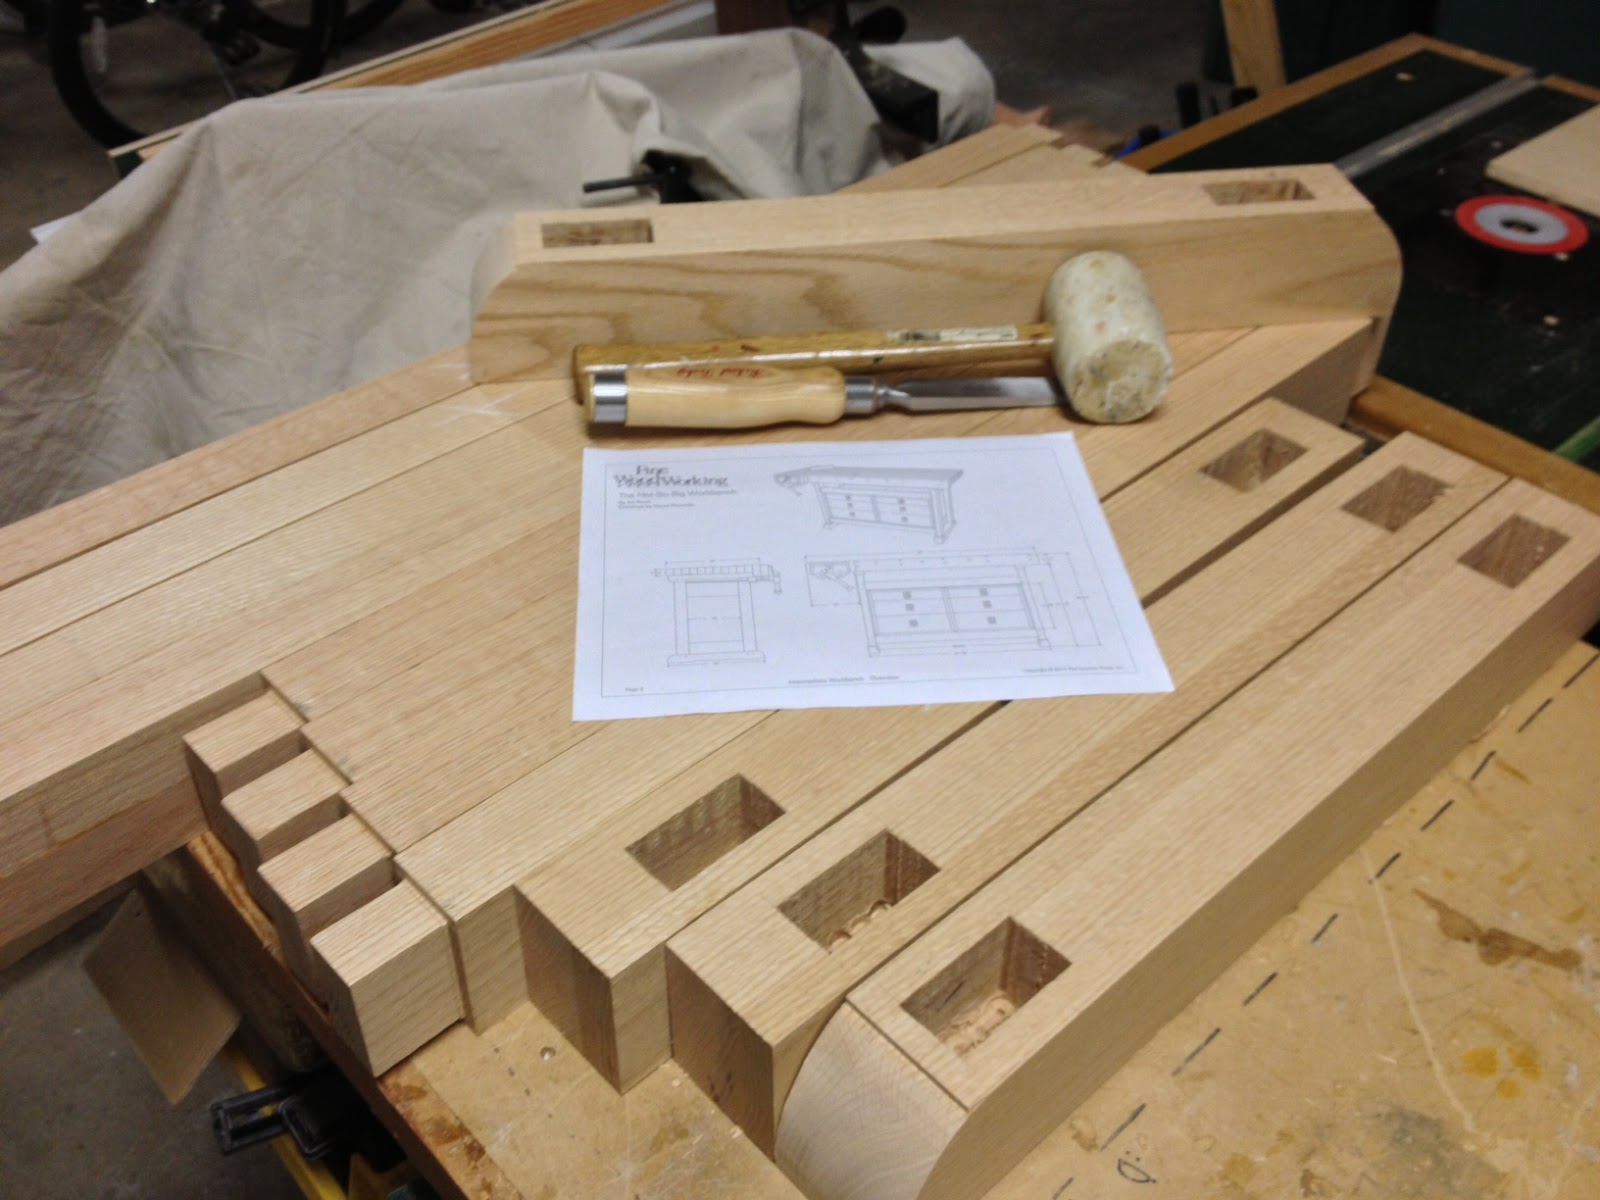
The parts are cut from red oak. The tenons were cut on a table saw, while the mortises gave me good cause to go buy a 3/4 inch Robert Sorby mortising chisel. The mortises are pre-drilled to remove waste wood then squared up with the chisel.
 |
| Dry fitting the parts to ensure all mates well. |
 |
| Pinning the tenons with dowels |
 |
| Base all complete |