Sparks will fly!
Happiness is an excuse to build a Van de Graaff generator because your son needs one for a physics assignment. OK so he didn't need that big of one, but why not teach the next generation to dream and plan big. If you are going to make an electrostatic discharge to impress your friends it had better be real long and snap real loud! Ok here we go, this entry is a montage of our latest built in the shop project.
 |
| Let the Sparks Fly! |
A Van de Graaff (VDG) generator generates static electricity in large potentials. Generating 100kV is in itself cool. Discharging it to produce 3 to 4 inch sparks is way cool. Since there is no current it is relatively safe - at least in the size we built. NOTE there is already shop talk of VDG2 and how to make it better!
 |
| That's using your head! |
There are many many sites on the Internet that show general plans for a VDG. We took a look at a few and came up with our own ideas to fit tools available in our shop. Most of the materials used are surplus items or low cost purchases from a local hardware store. The domes used are stainless steel salad bowls we found at Fred Meyers. Although they work the rim causes some unwanted discharge. Very late in the build we found rimless bowls at our local Ikea store - hence the idea of VDG 2.
The tower is 4 inch PVC that is held in place with a PVC pipe-stand piece we found at Lowes.
 |
| Rubber belt cut from sheet shown with top pulley mount. |
The static potential is generated by the belt carrying charge from a bottom (metal) pulley to a pulley (nylon) located on top of the PVC tower and inside the bowls (err domes). A copper comb near the bottom pulley sprays charges onto the belt. In our case this comb is electrically grounded. Another comb on the top side transfers the charge from the belt to the dome. By Faraday's law the charge should accumulate on the outside of the dome. The picture below shows the mechanism used to hold the bowls to the tower and align the top pulley in place. The position of the top comb can be seen just above the peak of the belt's travel.
 |
| Dome bottom with pulley and comb assembly |
The top mechanism became quite involved but it works great. Everything is built from plastic and nylon except for the copper combs. Once assembled (with he belt through the pulley) the entire assembly rests on top of the PVC tower. Notice that the charge is carried from the comb to the bottom bowl by the copper strap seen on the lower right.
The top mechanism became quite involved but it works great. Everything is built from plastic and nylon except for the copper combs. Once assembled (with he belt through the pulley) the entire assembly rests on top of the PVC tower. Notice that the charge is carried from the comb to the bottom bowl by the copper strap seen on the lower right.
 |
| Making the top pulley bearing mount |
 |
| Cutting hole in dome bottom |
 |
| Bottom comb with grounding wire |
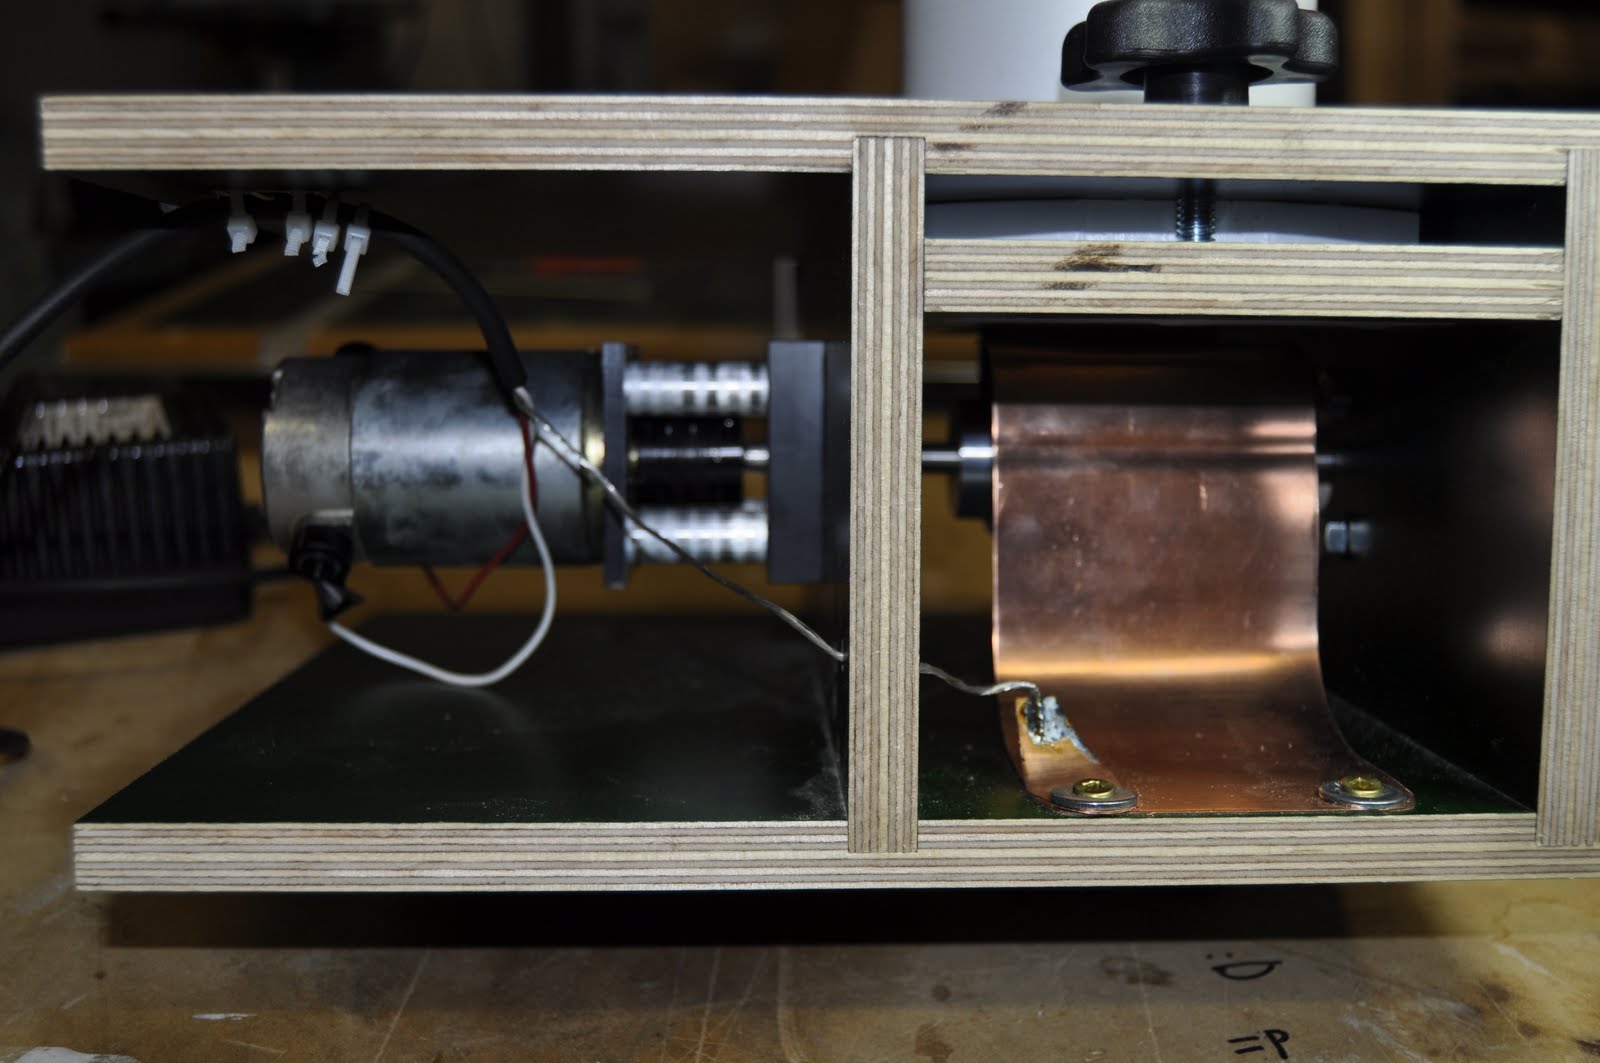 |
| Wood base, motor mount and bottom pulley (obscured by the copper comb) |
 |
| Center drilling the aluminum bottom pulley |
 |
| Center drilling the top nylon pulley |
 |
| Close up of plastic ring assembly used to hold and align the bowls/pulley |
 |
| Machining the rings to hold the bottom bowl /top pulley to the PVC tower |
More details to follow - stay posted!